
In this post I’ll walk through how my Hugo-based blog, powered by the Blowfish theme, is automatically built and deployed to Cloudflare Pages every time I push to main.
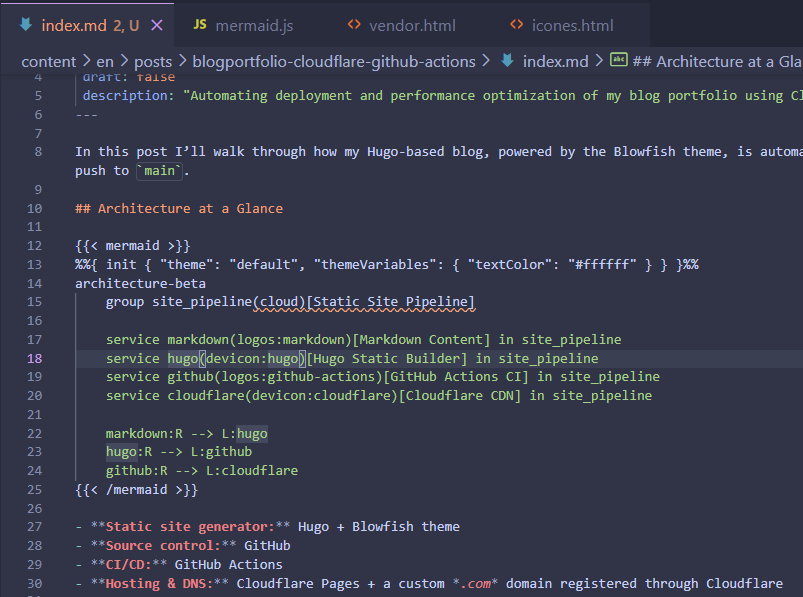
Architecture at a Glance #
%%{ init { "theme": "default", "themeVariables": { "textColor": "#ffffff" } } }%%
architecture-beta
    group site_pipeline(cloud)[Static Site Pipeline]

    service markdown(logos:markdown)[Markdown Content] in site_pipeline
    service hugo(devicon:hugo)[Hugo Static Builder] in site_pipeline
    service github(logos:github-actions)[GitHub Actions CI] in site_pipeline
    service cloudflare(devicon:cloudflare)[Cloudflare CDN] in site_pipeline

    markdown:R --> L:hugo
    hugo:R --> L:github
    github:R --> L:cloudflare
- Static site generator: Hugo + Blowfish theme
- Source control: GitHub
- CI/CD: GitHub Actions
- Hosting & DNS: Cloudflare Pages + a custom .com domain registered through Cloudflare
GitHub Actions Workflow #
Cloudflare Pages & Domain Setup #
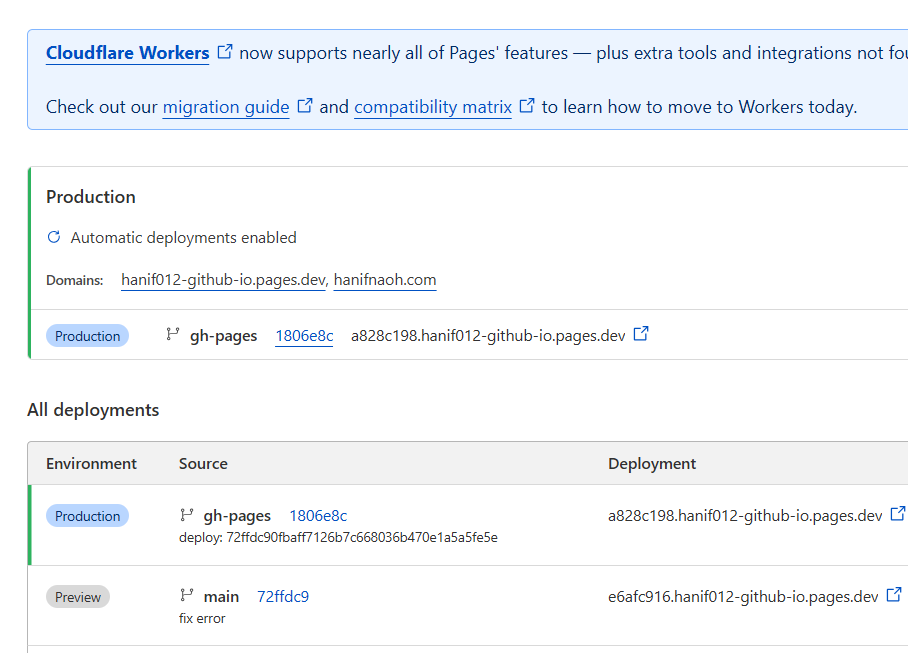
public, which is where Hugo generates the static files. So the clouflare pages pick the github pages and connect it to the domain I bought from Cloudflare.
Nice Features #
So since, apperently the blowfish theme is a very good theme, it has some nice features like:
- Automatic Image Optimization: The theme automatically optimizes images for better performance, which is great for loading speed.
- Responsive Design: The theme is fully responsive, ensuring that the site looks good on all devices.
- SEO Optimization: The theme includes built-in SEO features, making it easier for search engines to index the site.
- Customizable Layouts: The theme allows for easy customization of layouts and styles, making it flexible for different content types.
- Social Media Integration: The theme supports social media links and sharing options, enhancing user engagement.
- Analytics Integration: The theme can easily integrate with analytics tools to track site performance and user behavior.